
Step 1

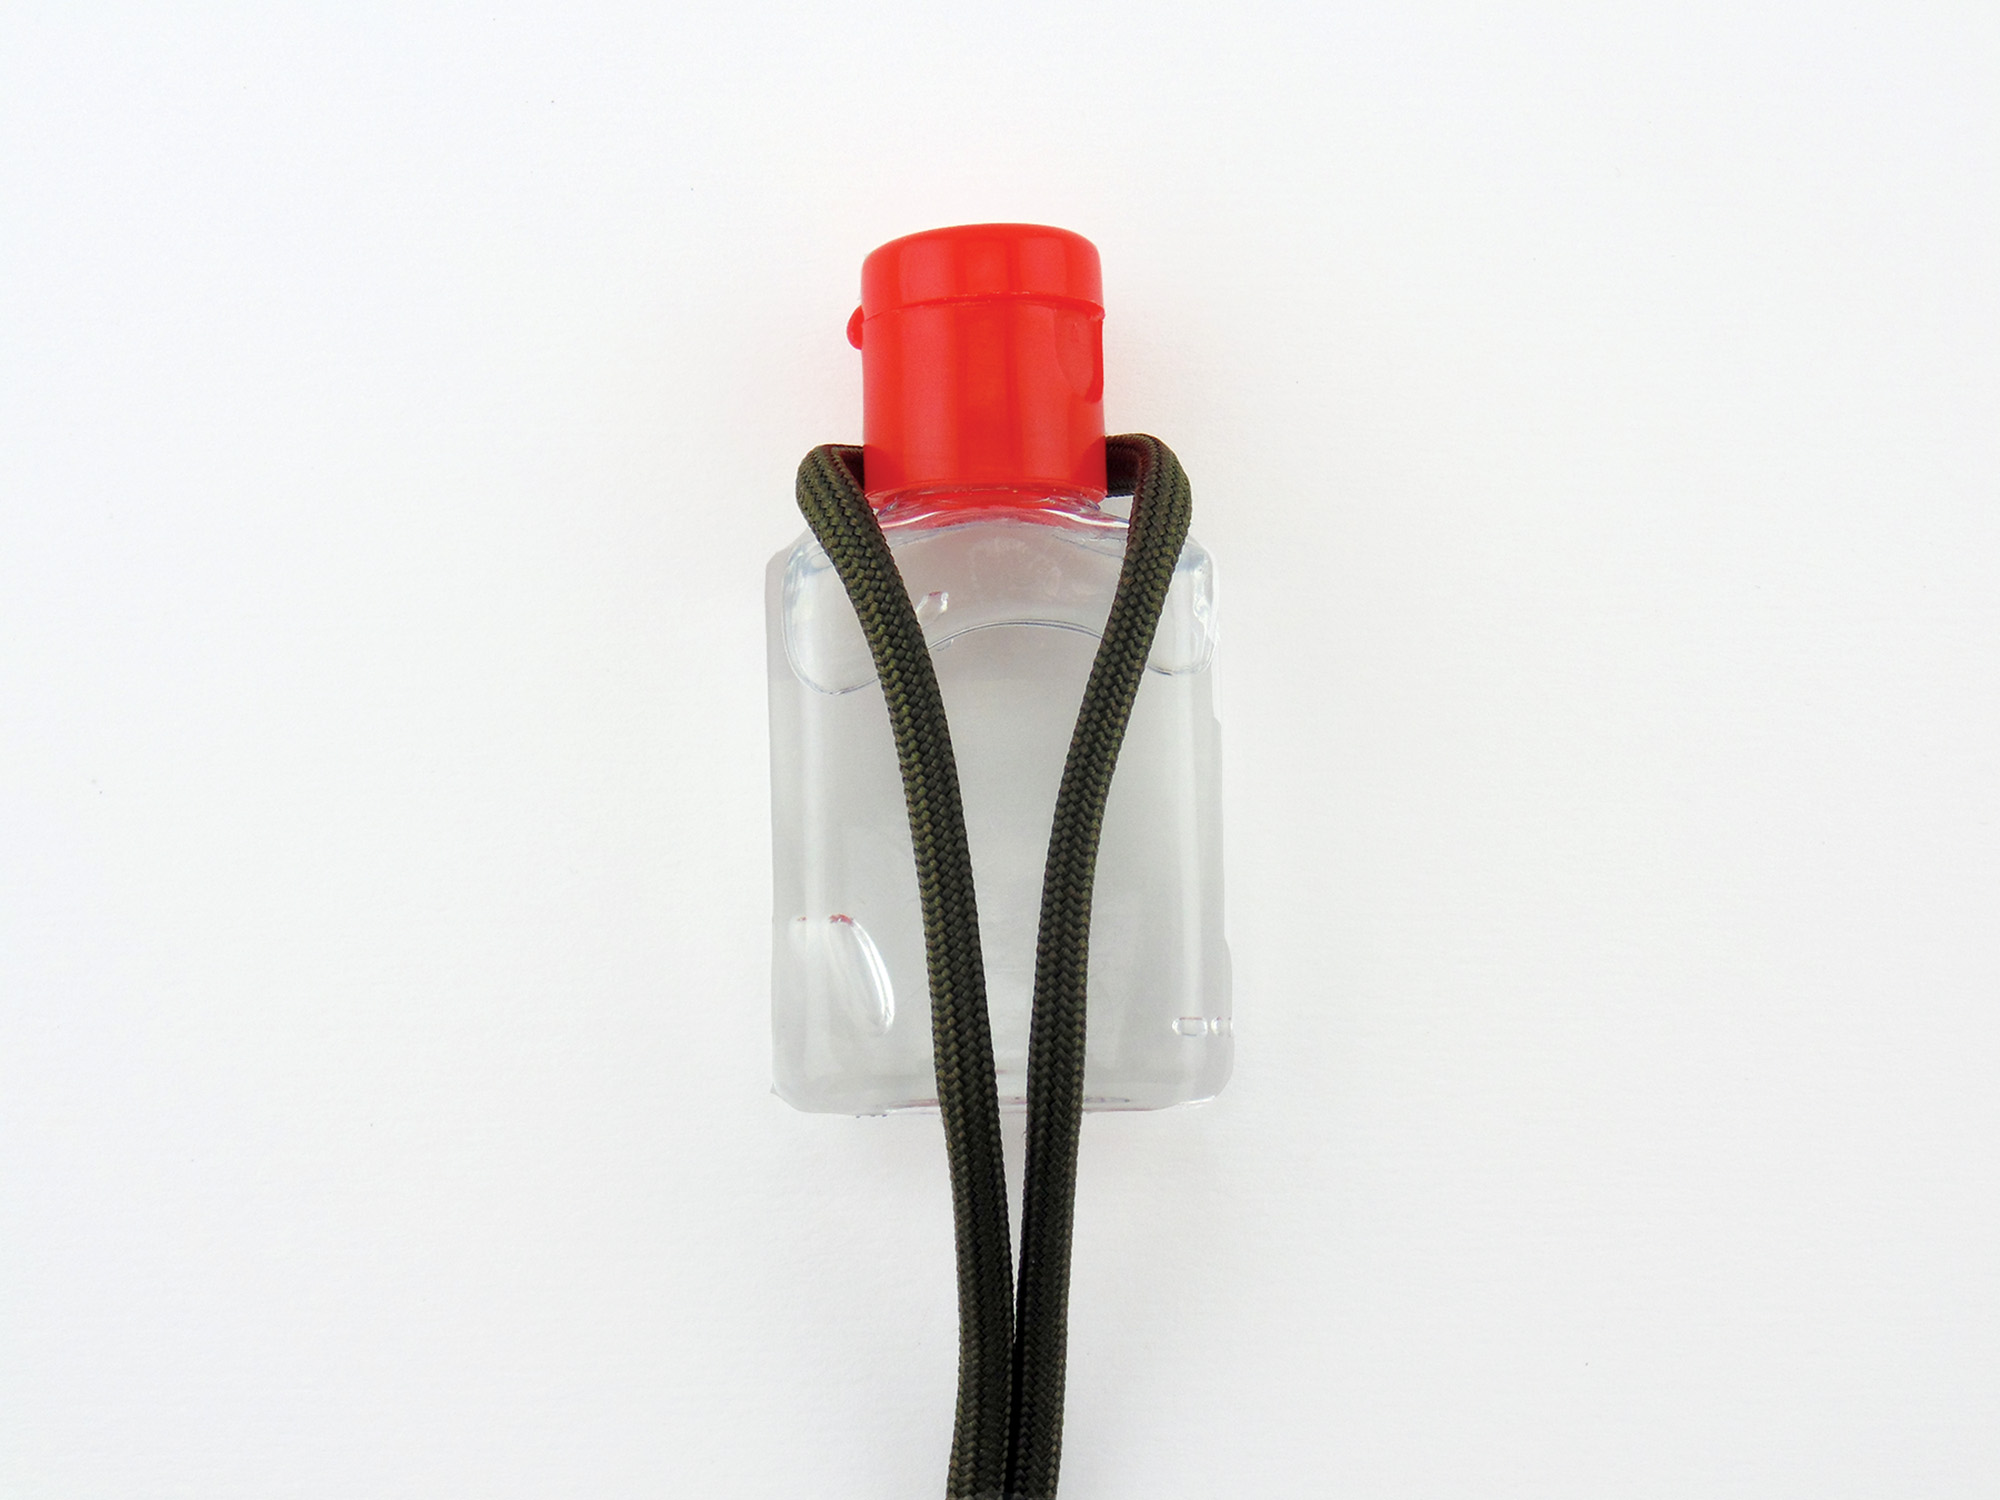
Find the middle of an 8-foot length of cord and wrap it around the neck of the bottle.
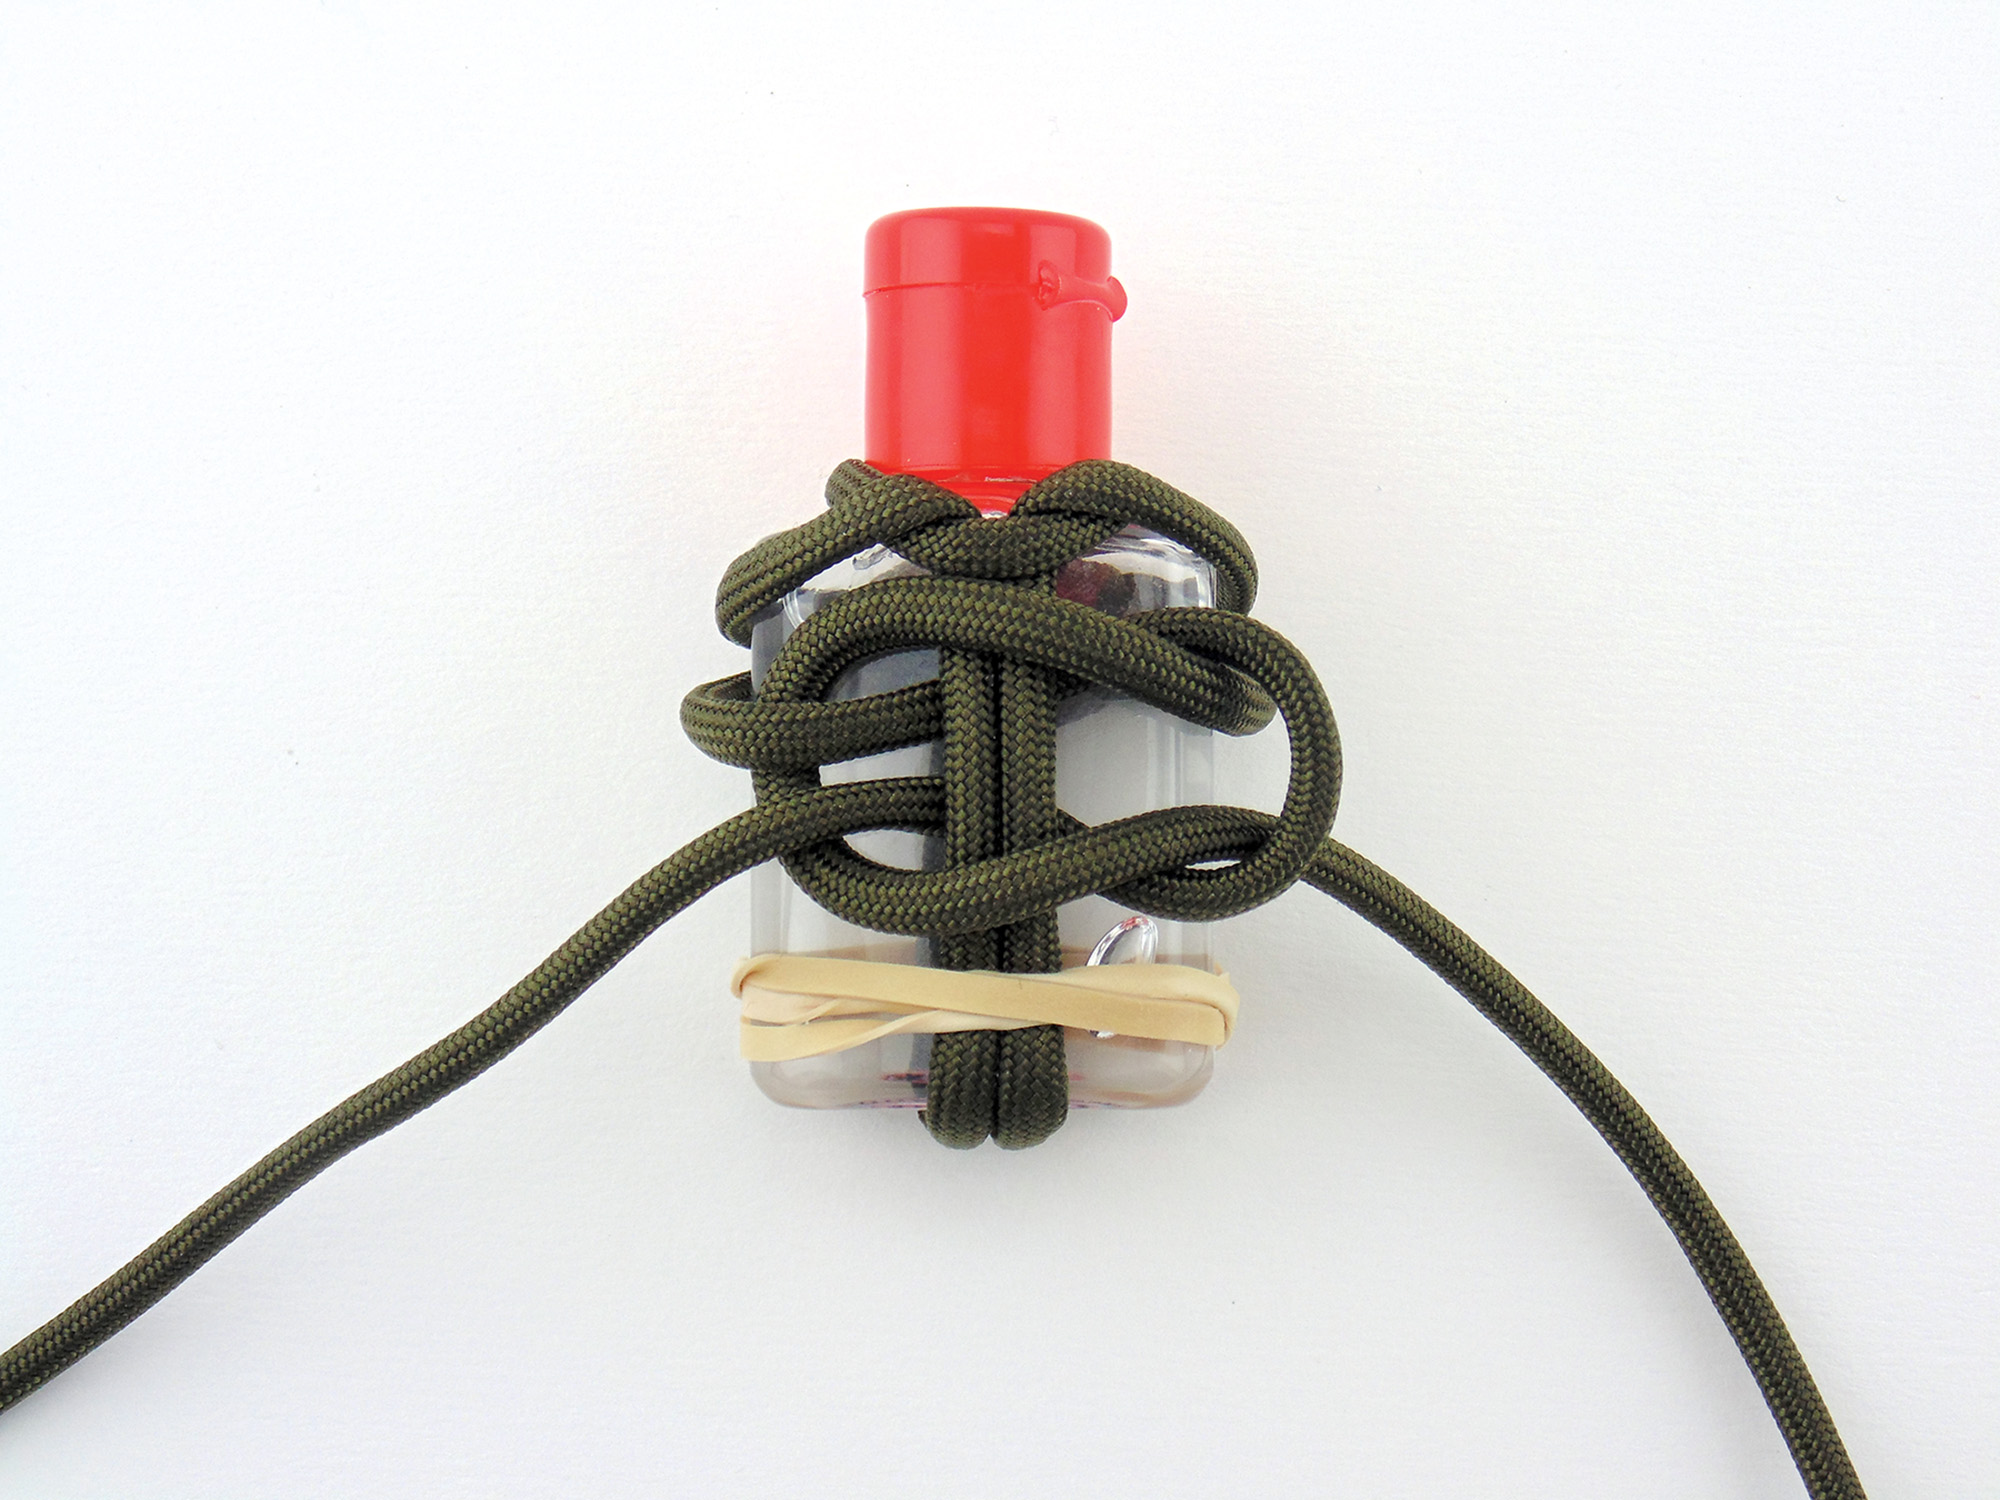
Step 2


Bring the cord around to the other side and insert the cord inside the loop. A rubber band wrapped around the bottle can make it easier to hold the cord on the bottle.
Step 3


Flip the bottle around to the opposite side. Bring the strand on the left side around and form a loop, then insert the loop underneath the core strands.
Step 4


Bring the strand on the right side through the loop on the left strand, over the core strands, and then underneath the left strand.
Step 5


Continuing with that same strand, bring it over the core strands and through the loop of the left strand.


Step 7


Flip the bottle around to the opposite side. Bring the strand on the left side around and form a loop, then insert the loop underneath the core strands.
Step 8


Bring the strand on the right side through the loop on the left strand, over the core strands and then underneath the left strand.
Step 9

Continuing with that same strand, bring it over the core strands and through the loop of the left strand.


Step 11


Flip the bottle around to the opposite side. Bring the strand on the left side around and form a loop, then insert the loop underneath the core strands.
Step 12


Bring the strand on the left side through the loop of the right strand, over the core strands, and then underneath the right strand. Bring the core over the core strands and through the loop of the left strand.


Step 14


Repeat steps 3 through 13, and continue tying until you’ve reached the bottom of the bottle. Then finish the bottle by tying a Solomon Bar until you reach the opposite side.
Step 15


You will have completed the design once you have reached the opposite side with the Solomon Bar. Cut the remainder of the excess cord and melt the ends with a lighter.
Step 16


Excerpted with permission from <a href="https://www.amazon.com/gp/product/1612432883/ref=as_li_tl?ie=UTF8&camp=1789&creative=9325&creativeASIN=1612432883&linkCode=as2&tag=craftfocom-20&linkId=d72b7b2a2e895c277b298c21f2c29438">"Crafting with Paracord: 50 Fun and Creative Projects Using the World’s Strongest Cord."</a>